
 |
| Outbreak City at Eastern Front 2011 - Unfinished, but the foundation is there. |
I take most of my 'new toys and figures' photographs on a 2' by 4' section of city board I build a few years back and for games, I use a 4' by 4' board built for a Lord of The Rings 'Shadow and Flame' campaign. Fine for getting the project off the ground and getting some games in but I really wanted to create a new gaming surface dedicated to Modern Zombie gaming.
All Things Zombie is normally played on a 3' by 3' table but to ensure the game didn't look out of place in the context of a big hall next to other large-table games, I decided on a 6' by 4' layout.
Inspired by this EPIC teaser shot from The Extraordinarii and I had a good idea of what I was after.
 |
| The Extraordinarii's amazing 'Small Town USA' layout. |
I trimmed some A4 paper to scale and began sketching and after a few calculations I set off to the local hardware stores, B&Q and Homebase here in the UK, to buy some timber.
They conveniently sell 6mm MDF in 3' by 4' sheets, and I selected 38mm deep softwood to batten the sheets.
 |
| One board down. |
I created the batten frame and everything was glued and screwed with all every drill hole counter-sunk.
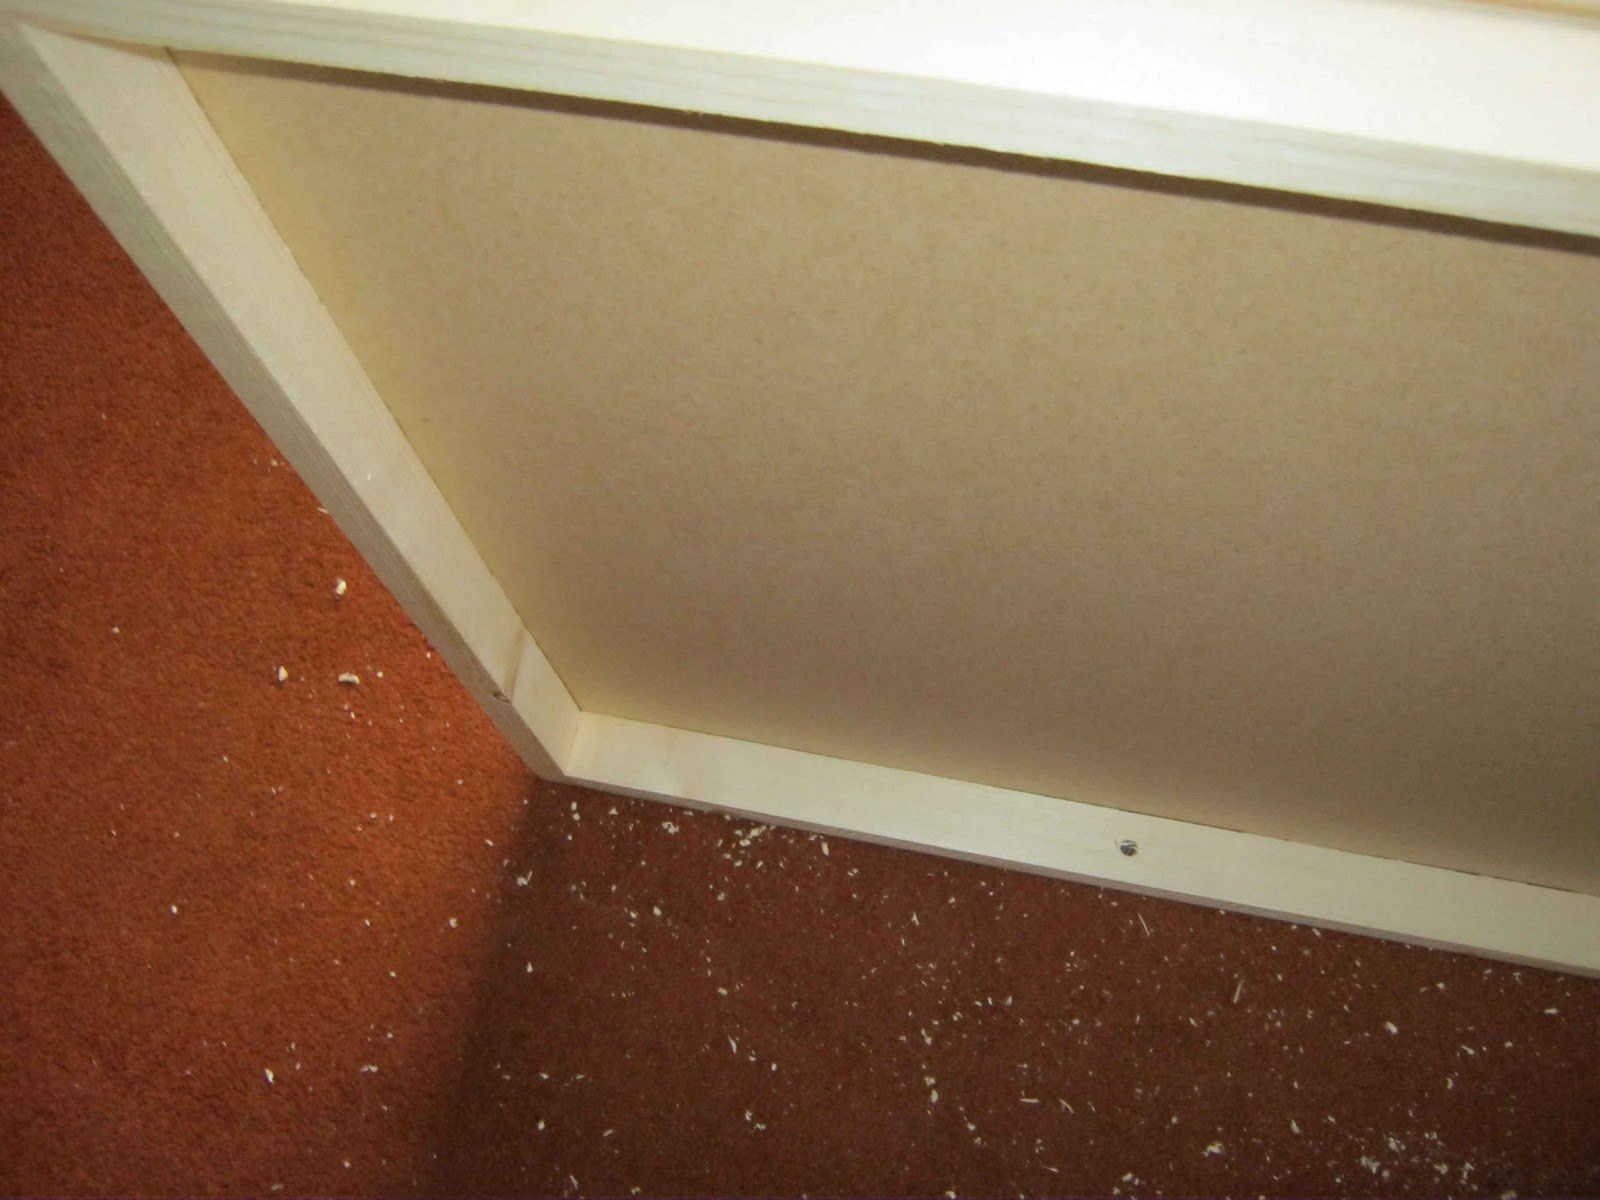 |
| The batten frame. |
I only have one old drill, on a cord, so I had to switch the drill bit and counter-sink back and forth, using a chuck-key for every individual drill hole. My advice; buy or borrow a paired cordless drill set (that's my future plan) and have them set up ready, it will save loads of time.
 |
| 3 completed base-boards. |
Something that bugs me about modular gaming tables is when you accidentally knock them (and I tend to do that) and they shift out of alignment.
To stop this I drilled holes through the battening in every side so that the boards could be fixed together.
 |
| Guide holes for linking the boards. |
I used a slightly larger than necessary drill bit for these holes to accommodate for unevenness in the boards and my inability to measure drill holes correctly. It worked out fine.
 |
| Wing-nut. |
 |
| Bolt head. |
To be continued...
All Things Zombie

This has the makings of a most excellent and very helpful article. I'm looking forward to part 2 already!
ReplyDeleteThis could well help me along the way with mine!
ReplyDeleteGood start and I will also be looking forward to the next part!
You're off to a great start. I'll be following this article with interest.
ReplyDeleteDude, I've been waiting for a tutorial like this. Can't wait for it's progression. Especially the buildings. PS Thanks for the Haribos in my R&R box I got as part of a Christmas gift. I didn't realise that you were Zombie Shop. :-)
ReplyDeleteGreat start, looking forward to future installments.
ReplyDeleteGreat start, looking forward to futrue installments.
ReplyDeleteI've just noticed that you now have 100 followers. Congratulations on your first century, Adam! Here's to reaching 200!
ReplyDeletewoot the big 100. Great tips i will be watching with interest as Lord Siwoc said it will help me with mine to
ReplyDeleteFantastic - Happy to see you making posts again, as your work is very inspirational.
ReplyDeleteHaving seen the table at Eastern Front, I am surprised to find that it was modular ... although thinking about it, Ad would've needed a damn big car if it wasn't!!
ReplyDeleteIt was (and I hope still its!) a great layout and I am going to watch this series with interest to make my own pale imitation!
Great looking table and tips!
ReplyDeleteChristopher
Thanks so much guys. I'll try and keep this series of posts as useful as possible, especially if you are in the process or are thinking about starting your own table. I photographed the whole build so there's plenty to come.
ReplyDeleteIrqan - You're welcome buddy. Gaming/hobby fuel :) I have to give credit to Hasslefree Miniatures for the idea.
Yes, 100 followers, it kinda crept up on me, thank you so much for your support.
Colin...I'd love a car that can fit a 6' by 4' in :) Anyone know if there is one? Dodge Ram extended flatbed?
Yeah this is a great tutorial, as I have mentioned before your board turned out real good, the stabalising idea is a good one also.
ReplyDeleteGood start, really like the anti-earthquake feature :D
ReplyDelete