Showing posts with label Medium Density Fibreboard. Show all posts

Outbreak City - How to Build a 28mm Zombie Gaming Table - Part 2

Missed part 1 of this article?

Part 2 of the construction of my All Things Zombie Outbreak City gaming table.

Once I had three identical 2' by 4' battened boards. I lay them side by side and marked the roads and sidewalks.

Measure twice. Draw once. Check, correct and re-draw.

To accommodate tollerances (and my shoddy woodworking) I swapped the boards around as I went, to check that they lined up on every side.

A note on road sizes. I opted for a four inch (10.2 cm) road width, the same approximate size as World Works Games roads, as it strikes a good balance between aesthetics and playability when trying to retain a city-block feel to the table.

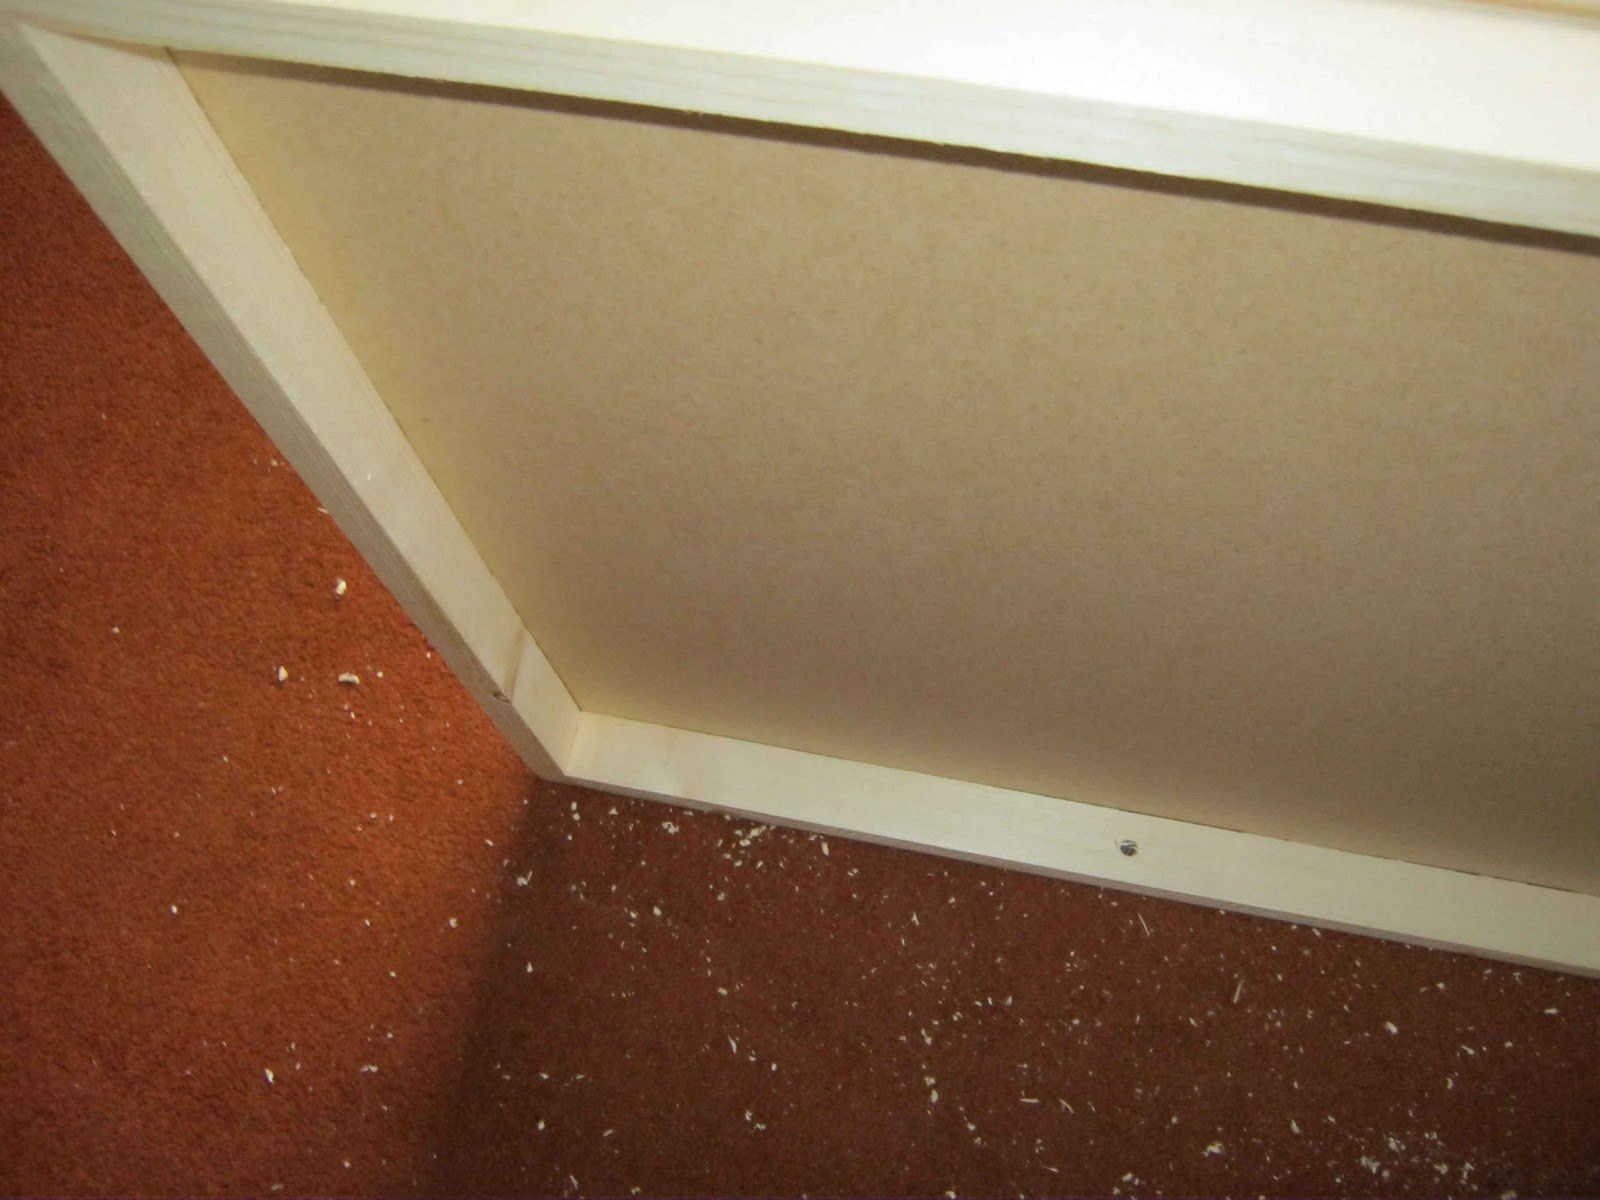
Once I was comfortable the measurements I cut to size the second layer sections in 3mm MDF. Being above the level of the roads, this level would represent the sidewalks and hard-standing of the city.

Note: No round corners yets.

I laid out all the sections to check everything was going to fit ok and once I was sure it was within acceptable limits, I cut curves of the top layer into the corners with a jigsaw.


This was also the stage I added a few dropped curbs and cut small notches in the underside of the top layer to represent storm drains. In retrospect, to go the extra mile, I would have cut the storm drains a little deeper and routed small holes in corresponding locations in the sides roads to match.

Finally I fixed the curbs to the base-boards with PVA and, after leaving it to dry for a few days, marked two inch sidewalks onto these sections.


To be continued...

All Things Zombie


Outbreak City - How to Build a 28mm Zombie Gaming Table - Part 1

So, I'd agreed to run a display game at the Eastern Front Wargames Show last year I wanted to make sure the gaming board looked very much a part of the whole set up as I could.

Outbreak City at Eastern Front 2011 - Unfinished, but the foundation is there.

I take most of my 'new toys and figures' photographs on a 2' by 4' section of city board I build a few years back and for games, I use a 4' by 4' board built for a Lord of The Rings 'Shadow and Flame' campaign. Fine for getting the project off the ground and getting some games in but I really wanted to create a new gaming surface dedicated to Modern Zombie gaming.

All Things Zombie is normally played on a 3' by 3' table but to ensure the game didn't look out of place in the context of a big hall next to other large-table games, I decided on a 6' by 4' layout.

Inspired by this EPIC teaser shot from The Extraordinarii and I had a good idea of what I was after. 

The Extraordinarii's amazing 'Small Town USA' layout.
The devil is in the detail on this board: modelled surface with 3D detail, raised curbs, recessed roads, sidewalks and man-hole covers, street furniture, signs, stop-lights, telephone boxes and varying textures and colours. I love the fact this table is quite light and eventually, those are the shades and tones I am after.

I trimmed some A4 paper to scale and began sketching and after a few calculations I set off to the local hardware stores, B&Q and Homebase here in the UK, to buy some timber.

They conveniently sell 6mm MDF in 3' by 4' sheets, and I selected 38mm deep softwood to batten the sheets.

One board down.

I created the batten frame and everything was glued and screwed with all every drill hole counter-sunk.

The batten frame.

I only have one old drill, on a cord, so I had to switch the drill bit and counter-sink back and forth, using a chuck-key for every individual drill hole. My advice; buy or borrow a paired cordless drill set (that's my future plan) and have them set up ready, it will save loads of time.

3 completed base-boards.

Something that bugs me about modular gaming tables is when you accidentally knock them (and I tend to do that) and they shift out of alignment.

To stop this I drilled holes through the battening in every side so that the boards could be fixed together.

Guide holes for linking the boards.

I used a slightly larger than necessary drill bit for these holes to accommodate for unevenness in the boards and my inability to measure drill holes correctly. It worked out fine.

Wing-nut.
They are attached with bots and wing-nuts.

Bolt head.
An extra bit of time and thought, but well worth the effort to avoid player created earthquakes.

To be continued...

All Things Zombie