Outbeak City: How to Build a 28mm Zombie Gaming Table - Part 3

Part 3 of the construction of my All Things Zombie Gaming Table.

Start at the beginning to read the whole article.

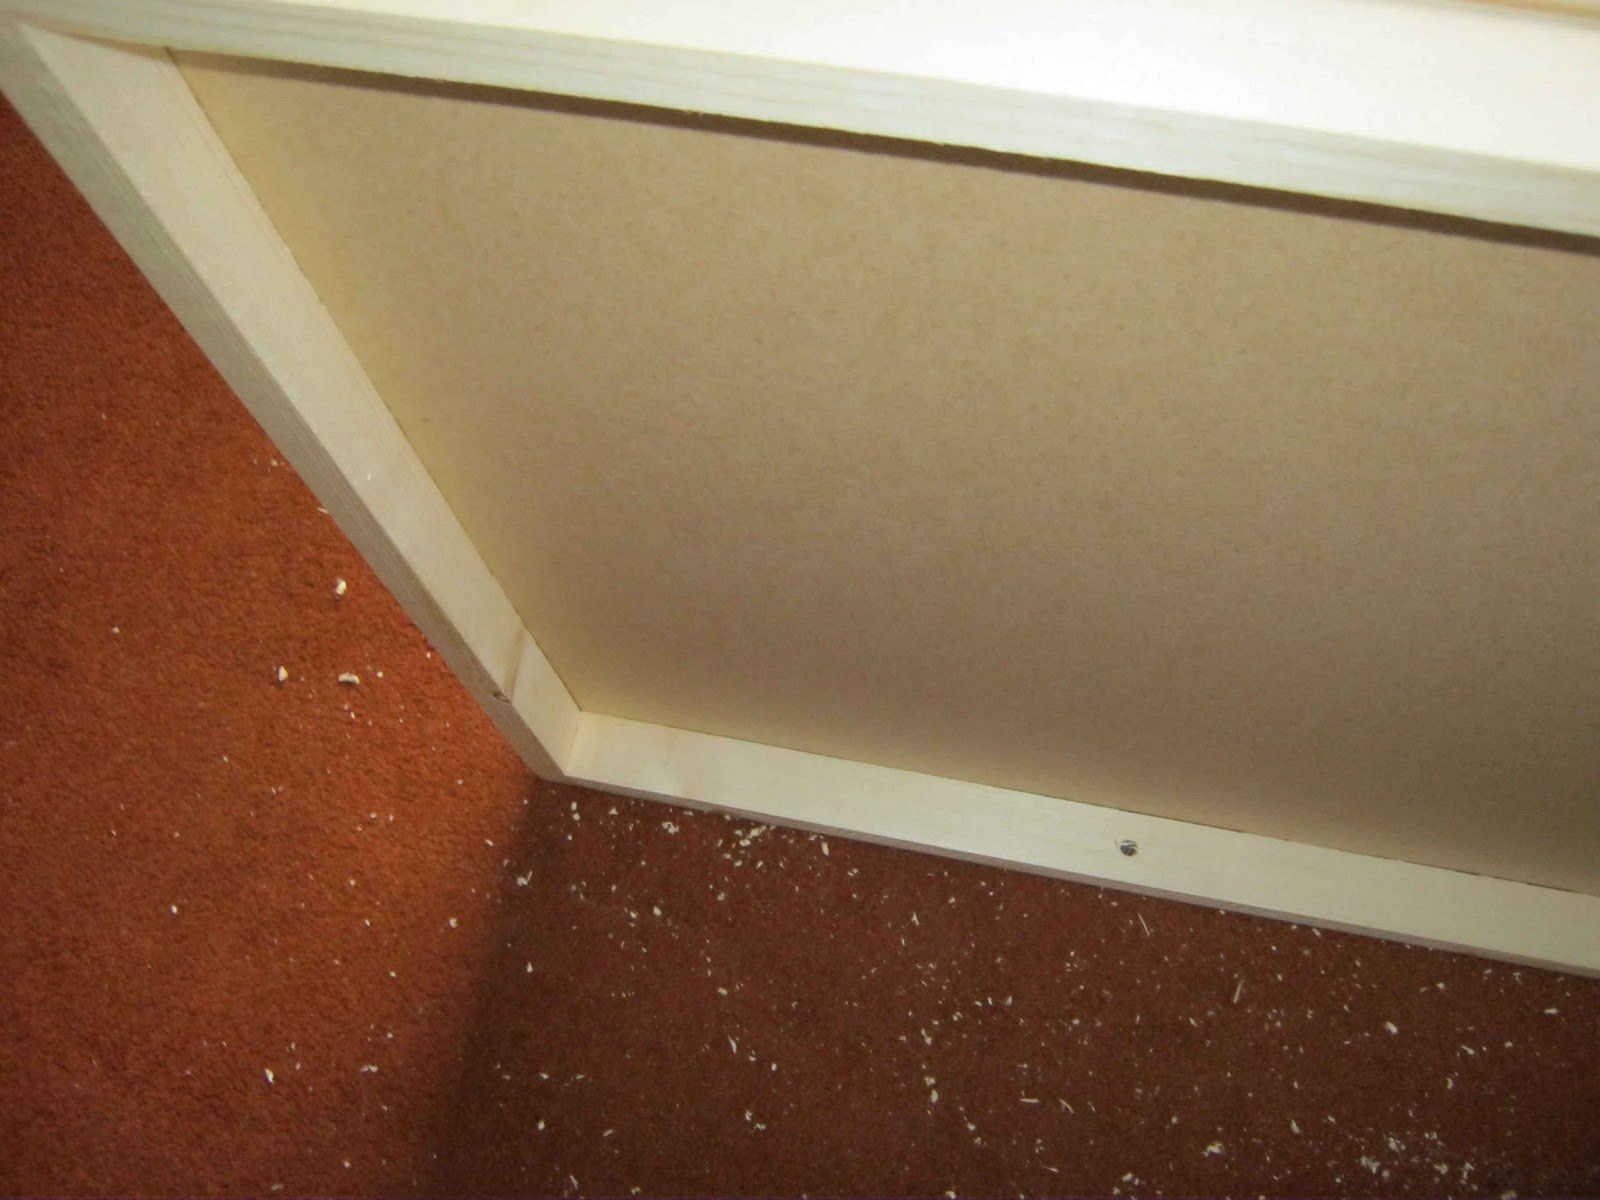
With the raised sidewalks fixed onto the battened boards is was time to go about detailing the board.

The whole philisophy behind this gaming table was detail. The idea was that every inch of the table was treated like an individual figure base, so I felt it was important to avoid shortcuts wherever possible and 'do it for real'. With that in mind I went about cutting out individual paving stones and curbs to ensure the sidewalks would take dry-brushing and ink washes.

"It's Begun!" It was about now I realised how much time this might actually take. 

The curbstones were cut 2/8'' wide and 1'' long. On the corners I switched to 1/2 '' lengths to aid with the curve.

I painted about 10-12'' of PVA at a time as I lay the tiles.
You can just about see the cuts made in the underside of the sidewalk pieces to help define the drainage. I was working away from home for a couple of months whilst I was doing this, so most of the build was done when I came home at weekends but I was able to cut out the tiles during weeknights.

Undercuts, to represent storm drains.
The sidewalks themselves consist of three rows of 6/8'' by 4.5/8''.

Like most gamers, I am a hoarder or all things that 'might be useful one day' so I had a fair amount of card sitting ready to be used. However, to ensure that there was some 'real-world' variation in the paving, to represent replaced slabs, ground heave or gentle localised subsidence, I wanted variation.

For the most part the curbstones were cereal packets and the paving was mostly the type of card that comes in a box of 5 reams of A4 paper (one at the top, one at the bottom) with of different thicknesses card randomly mixed in.

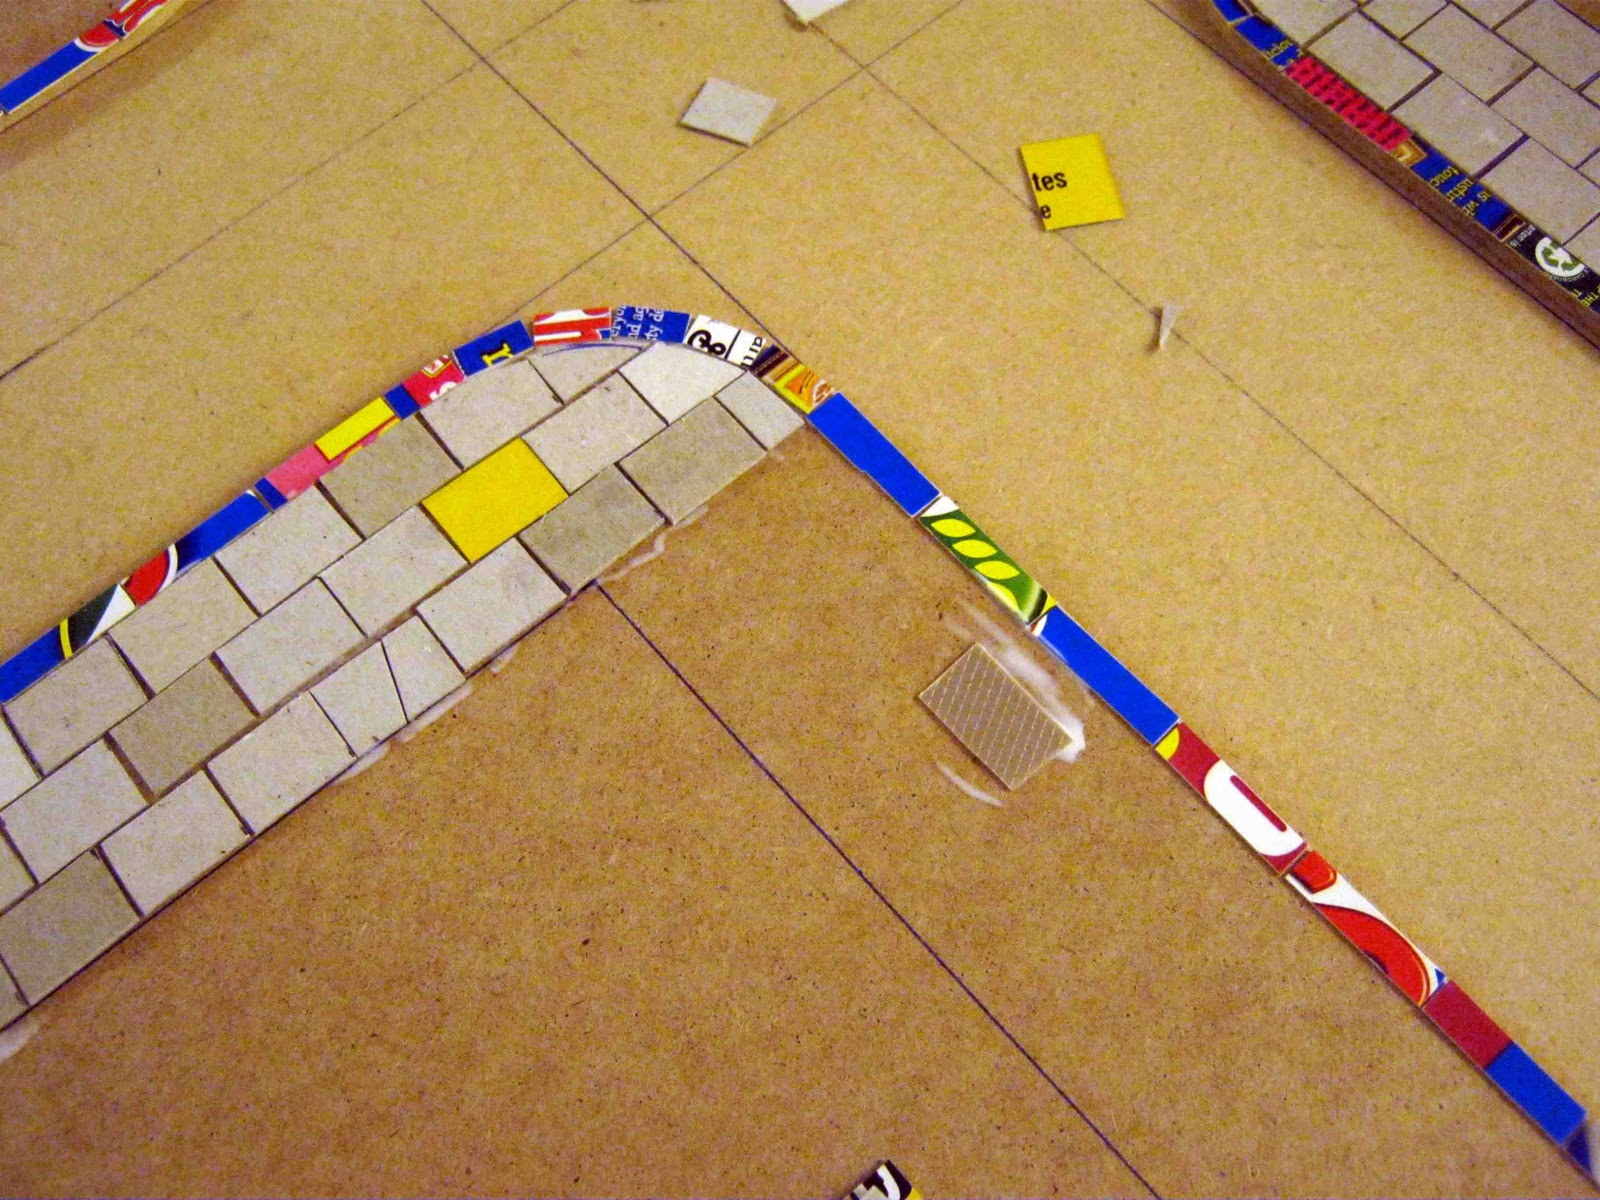
Drain cover, added with checker-plate plasti-card.
On the corners I simply alternated long and short edges to follow the line into the curve and trimmed the edges of the tiles as I went. That gave me a flat edge to work from again.

The tiles were all laid in a basic bricklaying 'running bond' style, offset by half a tile. I deliberately left a small gap between every tile, so that they were not laid exactly flush and a coat of textured paint wouldn't obscure the edges of the tiles.

I added a few random 'broken' slabs, by simply cutting them in half of in thirds at appropriate looking angles.

Finished curb and sidewalk.
To be continued...

All Things Zombie


28mm BMX Bandits

Like a few other fellow bloggers I've been having difficulty with blogger this last week, guessing it might be an i.e. and hope to be able to sort that out this week. So a short post and deviation from my All Things Zombie gaming table posts for now.

Enjoy the little things, they say. Well some of the things I enjoy really are quite little.

My good friend James, who knows I am on a quest to fill Outbreak City with all sorts of awesome 'stuff' picked me up these BMXs for my birthday. In his words "I thought they'd look great just lying in the street." Thank you James!

The red bike and the blue bike had a race.

If you buy it and paint it right away it doesn't count...right...and if someone else buys it for you and you paint it right away, even better.

I always wanted a Raleigh Burner.
What I got was a Grifter instead.

These 28mm scale bikes are available from Black Cat Bases, as well as all sorts of other fantastic street-filling detritus, junk, bottles, cans and other waste that I can't wait to get my grubby little mitts on. Well worth checking out.

Outbreak City - How to Build a 28mm Zombie Gaming Table - Part 2

Missed part 1 of this article?

Part 2 of the construction of my All Things Zombie Outbreak City gaming table.

Once I had three identical 2' by 4' battened boards. I lay them side by side and marked the roads and sidewalks.

Measure twice. Draw once. Check, correct and re-draw.

To accommodate tollerances (and my shoddy woodworking) I swapped the boards around as I went, to check that they lined up on every side.

A note on road sizes. I opted for a four inch (10.2 cm) road width, the same approximate size as World Works Games roads, as it strikes a good balance between aesthetics and playability when trying to retain a city-block feel to the table.

Once I was comfortable the measurements I cut to size the second layer sections in 3mm MDF. Being above the level of the roads, this level would represent the sidewalks and hard-standing of the city.

Note: No round corners yets.

I laid out all the sections to check everything was going to fit ok and once I was sure it was within acceptable limits, I cut curves of the top layer into the corners with a jigsaw.


This was also the stage I added a few dropped curbs and cut small notches in the underside of the top layer to represent storm drains. In retrospect, to go the extra mile, I would have cut the storm drains a little deeper and routed small holes in corresponding locations in the sides roads to match.

Finally I fixed the curbs to the base-boards with PVA and, after leaving it to dry for a few days, marked two inch sidewalks onto these sections.


To be continued...

All Things Zombie


Outbreak City - How to Build a 28mm Zombie Gaming Table - Part 1

So, I'd agreed to run a display game at the Eastern Front Wargames Show last year I wanted to make sure the gaming board looked very much a part of the whole set up as I could.

Outbreak City at Eastern Front 2011 - Unfinished, but the foundation is there.

I take most of my 'new toys and figures' photographs on a 2' by 4' section of city board I build a few years back and for games, I use a 4' by 4' board built for a Lord of The Rings 'Shadow and Flame' campaign. Fine for getting the project off the ground and getting some games in but I really wanted to create a new gaming surface dedicated to Modern Zombie gaming.

All Things Zombie is normally played on a 3' by 3' table but to ensure the game didn't look out of place in the context of a big hall next to other large-table games, I decided on a 6' by 4' layout.

Inspired by this EPIC teaser shot from The Extraordinarii and I had a good idea of what I was after. 

The Extraordinarii's amazing 'Small Town USA' layout.
The devil is in the detail on this board: modelled surface with 3D detail, raised curbs, recessed roads, sidewalks and man-hole covers, street furniture, signs, stop-lights, telephone boxes and varying textures and colours. I love the fact this table is quite light and eventually, those are the shades and tones I am after.

I trimmed some A4 paper to scale and began sketching and after a few calculations I set off to the local hardware stores, B&Q and Homebase here in the UK, to buy some timber.

They conveniently sell 6mm MDF in 3' by 4' sheets, and I selected 38mm deep softwood to batten the sheets.

One board down.

I created the batten frame and everything was glued and screwed with all every drill hole counter-sunk.

The batten frame.

I only have one old drill, on a cord, so I had to switch the drill bit and counter-sink back and forth, using a chuck-key for every individual drill hole. My advice; buy or borrow a paired cordless drill set (that's my future plan) and have them set up ready, it will save loads of time.

3 completed base-boards.

Something that bugs me about modular gaming tables is when you accidentally knock them (and I tend to do that) and they shift out of alignment.

To stop this I drilled holes through the battening in every side so that the boards could be fixed together.

Guide holes for linking the boards.

I used a slightly larger than necessary drill bit for these holes to accommodate for unevenness in the boards and my inability to measure drill holes correctly. It worked out fine.

Wing-nut.
They are attached with bots and wing-nuts.

Bolt head.
An extra bit of time and thought, but well worth the effort to avoid player created earthquakes.

To be continued...

All Things Zombie